Reverse Key Lighting
I used to work with a cinematographer named Rob Draper (Halloween 5, The Spitfire Grill). He was having me practice one day by shooting a product shot for a whisky bottle. I had set the bottle up in front of a seamless backdrop and put a light in front of the bottle at about a 45 degree angle. Rob came in to see how I was doing. His first comment was “What made you put the light in front of the bottle rather than behind the bottle?” I hadn’t really thought much about it. “Why wouldn’t you put the light behind the bottle and bounce in a little light for fill on the front side?” he asked. And that was when I was first introduced to “Reverse Key Lighting”.
Reverse Key Lighting is also called “short lighting” or “narrow lighting”. The idea is that the key light is placed behind the subject rather than in front (the way you would probably see it set up in most cinematography books). In the world of news and interviews its sometimes called a “reporter sandwich” because of the way the reporter is sandwiched by the light behind him and the camera in front of him. Its a very versatile technique so lets take a look at some examples.
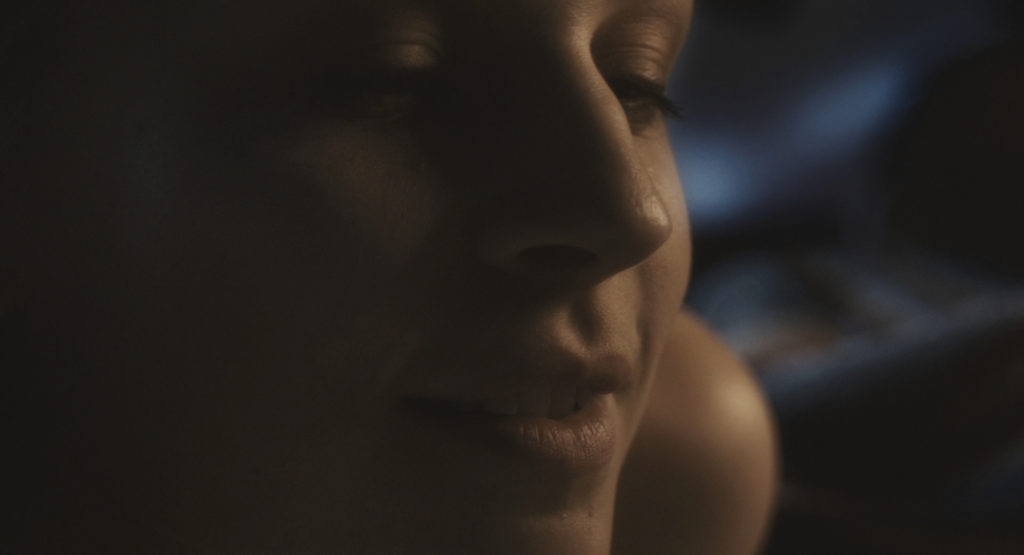
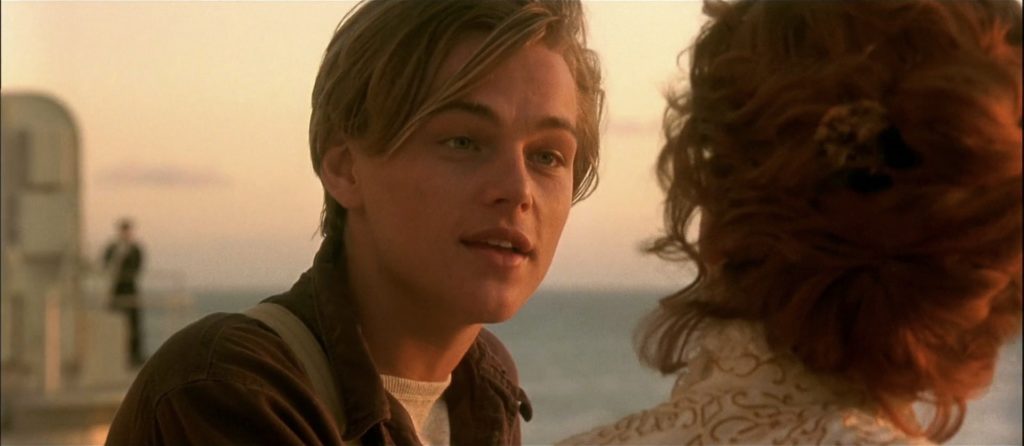
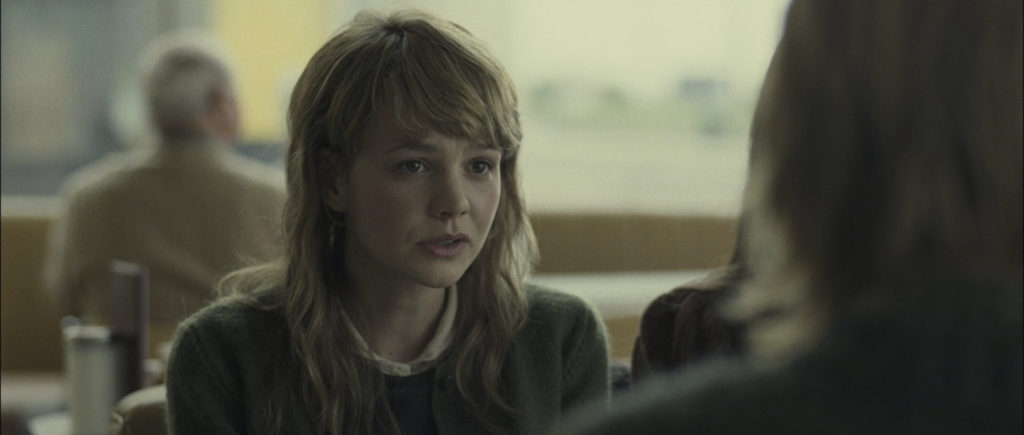
Reverse Key Lighting can be used in closeups
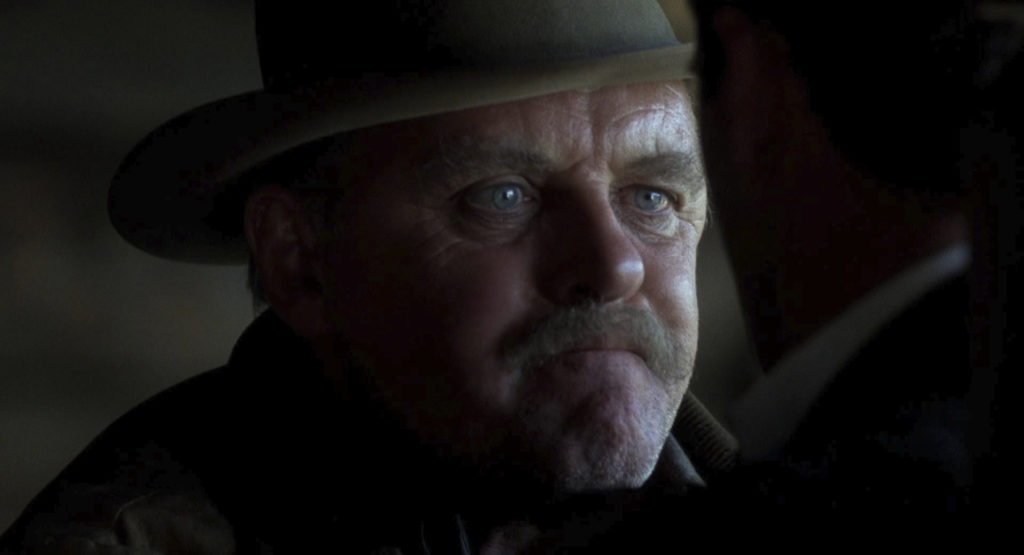
And in wider shots
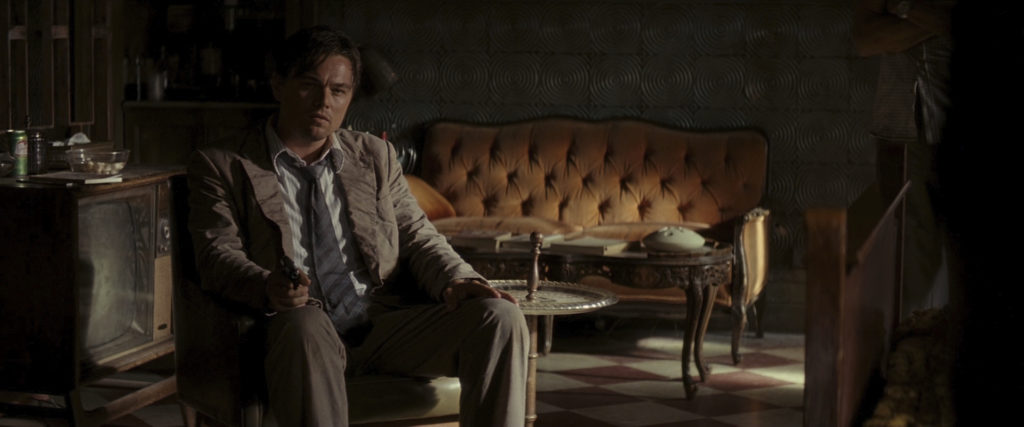
Indoors
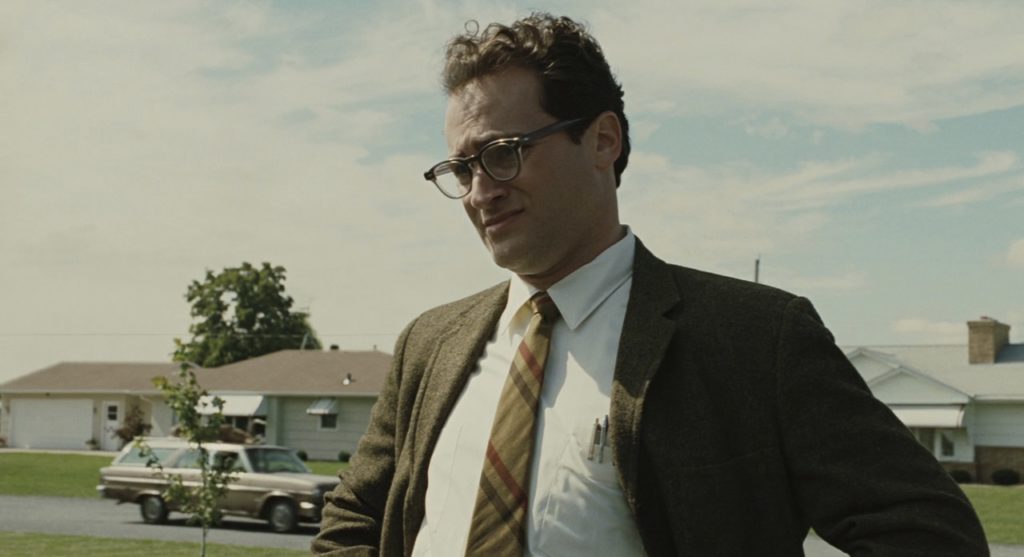
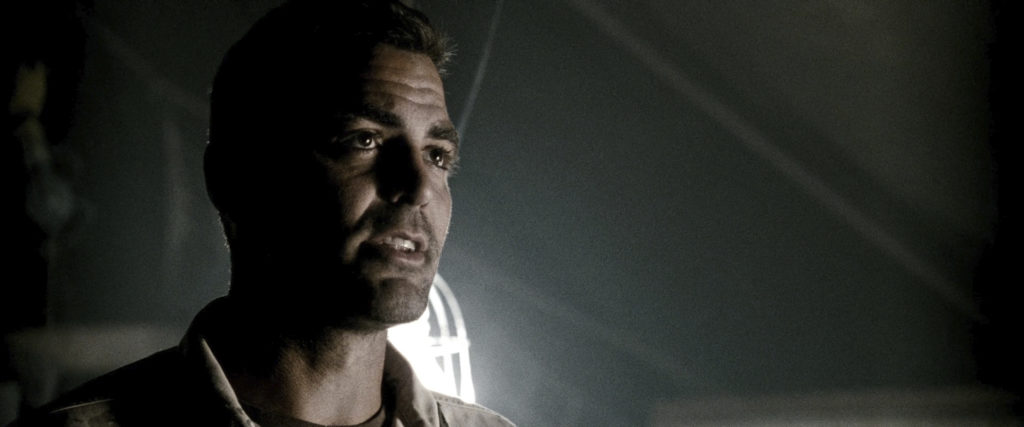
Outdoors
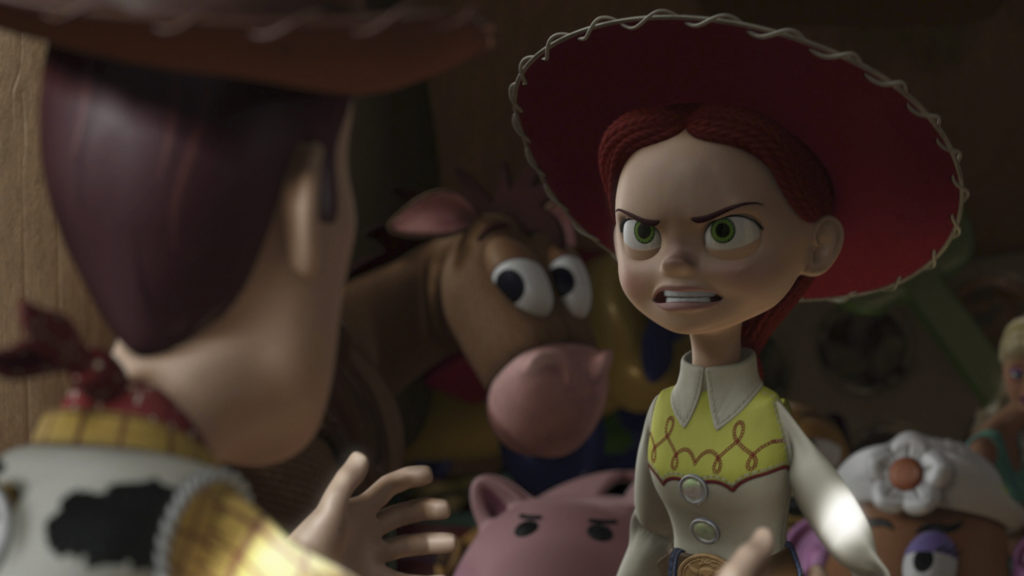
It can be used in animation

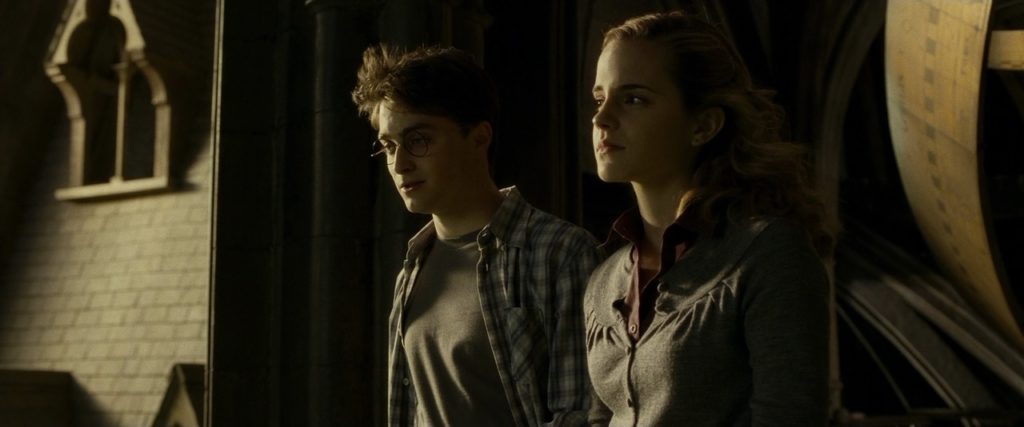
In a two shot

With lots of fill light
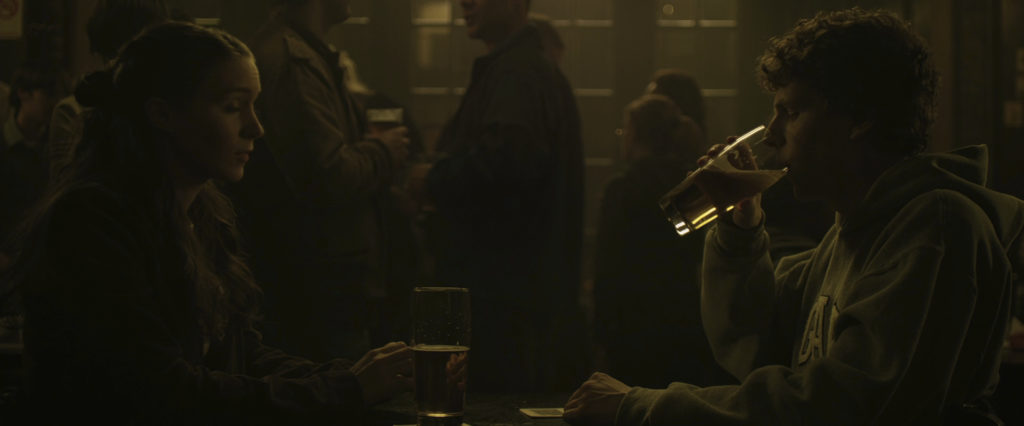
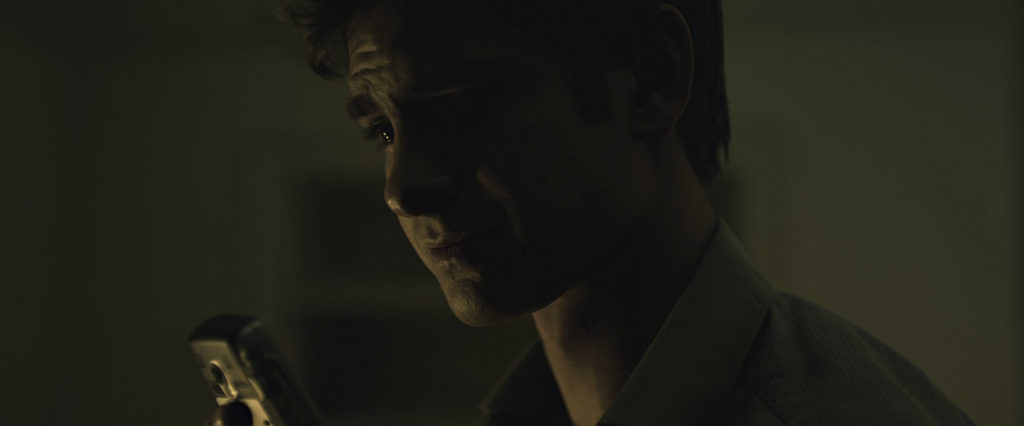
Or very little fill light
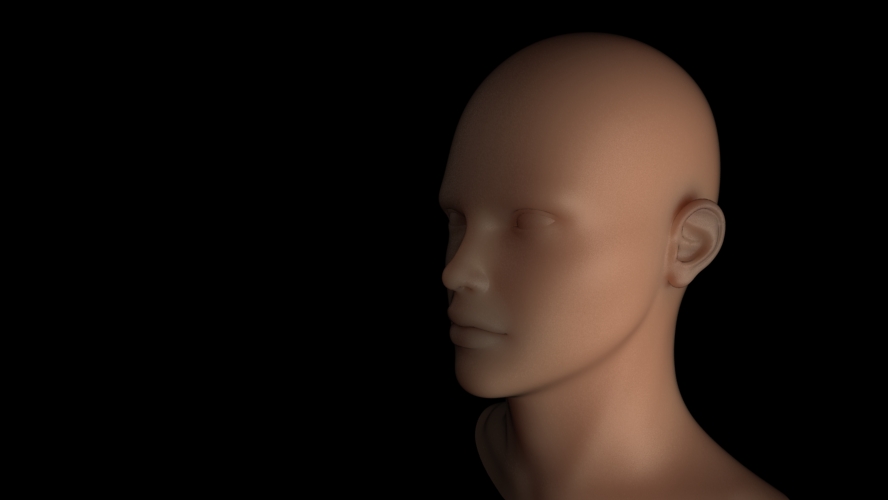
One of the strengths of reverse key lighting is the way the shadows falloff across the face. When the key light is coming from the front it makes for very flat lighting. Its not dynamic and you don’t see a lot of shadows.
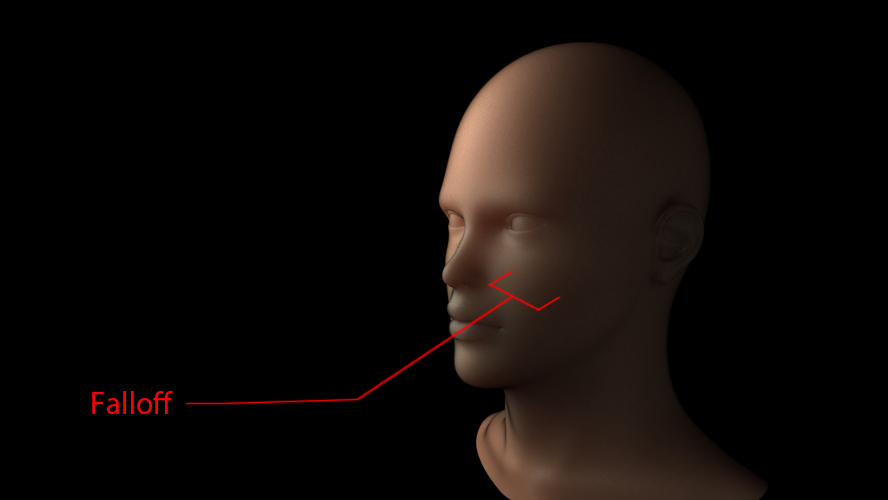
When you place the key light on the other side though, the light rakes across the face and you can see the light falling off into shadow on the side of the face closest to the camera. This make for much more compelling lighting and the gradient of the light falloff gives the subject a much more three-dimensional appearance.
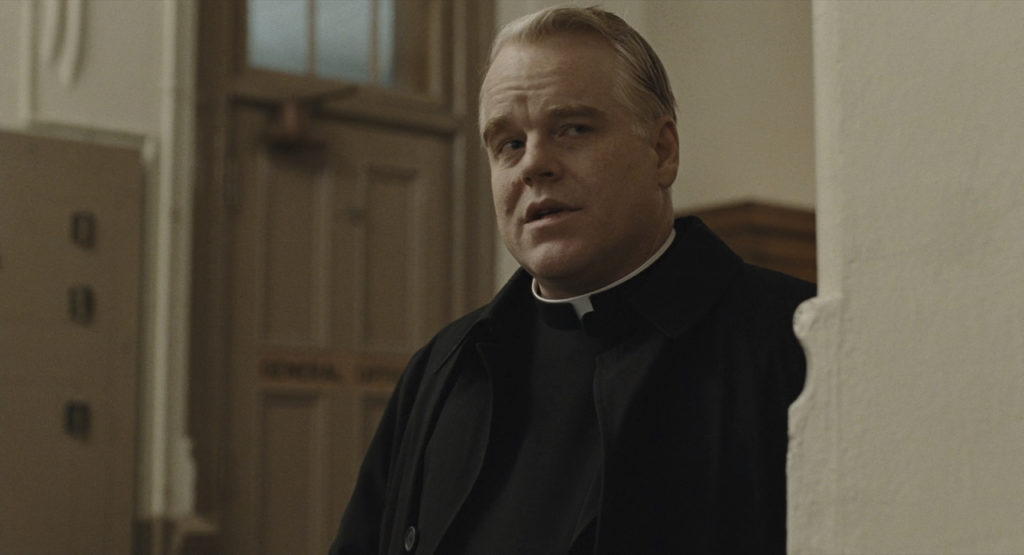
In addition to being more visually interesting, reverse key lighting offers some other benefits. Because a smaller area of the face is lit it gives the illusion of a thinner face or body so it can be a very flattering way to light women. It can be flattering for men too, but sometimes you might want to give them a front key light to make them look more rugged or masculine. Reverse key lighting can also be a preferable way to light people with glasses as you don’t get any distracting reflections.
The important thing to remember about any lighting is that it should always serve the story. So don’t force any kind of lighting scenario onto a scene if it doesn’t fit the story or mood you’re trying to create.
Next time you are watching a movie shot by a great cinematographer keep yours eyes open for reverse key lighting. I think you’ll see it popping up a lot.
23 Responses
Initially It did seem like you were illustrating just a strong backlight with low key. But after the 3rd example I love the technique. It was great that you showed its’ versatility and then the technical aspect. Thanks 🙂
TOP VIEW: WHERE DID you position the LIGHT ?
I’m not certain which view you are referring to. Where are the lights in which picture?
yes… exactly… so if you could post a snapshot from the 3d space showing the light-source itself, that would be great !
or just a small sketch….. thank you so much for posting !
Great post! This looks like a really useful technique, specifically as it relates to lighting people with glasses. I have struggled in the past with positioning the key light to avoid the glare when my subject moves their head around. On another note, it seems like a back/rim/hair light would be unnecessary with this setup. Perhaps you could do a really simple one light setup with a strong reverse key and a bounce board for fill, then just adjust the level of background light to the degree you wish to isolate your subject. This is worth experimenting with.
Its funny that of all the examples I included I neglected to include any with a rim light. Its certainly done and done often. Shutter Island has a lot of good examples.
http://evanerichards.com/wp-content/gallery/shutter-island/shutter-island-236.jpg
As far as using a single key and a bounce card for fill, I think that’s probably done a lot. The one thing about that technique is you get potentially different qualities to the key and fill light. Harsh light for the key for example would hit the bounce board and illuminate the other side with a much softer and more diffused fill light. But that’s a whole other discussion. Using soft lights for the fill and hard light for the key or vice versa. Or using a colored light for one and different color for the other. There are a lot of very intriguing possibilities.
Nicely explained. I didn’t feel your original example of lighting the bottle from the rear with Mr. Draper going forward to most of the stills. Some are a bit past 90º to the rear, adding drama, but most are what I would consider “normal” key lighting–just a wee bit off axis, enough to cast shadows on the face for drop off. Thanks.
ahaaa…. ok, now I see what you mean.. thx for posting !
Nicely done – thanks so much for posting this!
This technique is very widely used and is generally called “lighting from upstage”.
Once you learned it, you see it everywhere : TV, films… 80% of the shots are lit this way. It gives such good results in most cases that it can be tempting to use if all the time and one tends take the easy way out. The question is : “should we ALWAYS light from upstage ?”…
I’ve always known this as a far side key and usually my preference over a close sidr key unless close side is motivated. I usually characterize a far side key as any key at or beyond the subject’s eyeline relative to camera side. Keys on eyeline are especially flattering since they render faces and noses softer, and shadows minimal while still givings shape and contrast since they are not on camera axis unless the subject is looking into camera.
This is actually the proper placement for the key light. The key light should be placed so that the subject is looking between the camera and the key light. The key light should be placed as such so that shadow comes to the face, shadow is was defines the face, it’s what gives us all the information about the shape of a face. Without the shadow we don’t have depth which gives us a good idea of what the face actually looks like.
However, if you’re shooting a pretty woman, you’ll want your key light to be closer to the camera. The closer the key light is to the camera axis, the less shadow there is.
You should always consider what your light means, and think about why you’re placing the light where you’re placing it, but generally shadow to the front is good, it give the viewer more information. Use the shadows wisely, they can say a lot.
This is a great article! You explained reverse key lighting very well. Time to do some tests……
GREAT article Evan! Thank you very much, has totally changed how I light
Excellent! Glad to hear it. It is certainly a good technique to know.
In reverse lighting, we need to make a edge light behind the character and then fill the light on the front. Am i right?
The key light comes from the far side of the camera, and the fill comes from the closer side.